Throughout the first episode of Quake, there are moats and bridges. Each has varied mechanical functions, depending on the level. Thematically, what separates a bridge and moat from similar structures like catwalks across hazards is that they functions as a threshold the player must cross. At their best, these thresholds signify a first step in an attack against an enemy stronghold. This frames the player’s actions within the fantasy of storming a castle, which gives the player unspoken goals: get to the heart of the fortress and take it.
Compared to other level starts in Quake and in Doom, the bridge and moat setup offers better context for exploration and combat. Keep in mind that as we go through some of the examples from this episode, not all have equal impact, and players may experience these areas differently than I describe. This is because the effect of this motif depends on level design working with game design and drawing from a player’s cultural awareness. This is not a fundamental property of bridges everywhere. With a different set of verbs, such as the cleaning verbs of Viscera Cleanup Detail, players could have different reactions to identical level design.
This is also just one motif we can look at with Quake. We could find even more riches by considering the design of the keys and locked doors, or by looking at how the game introduces each new enemy, or by studying each trap the levels springs. For a 21 year old game, there is still so much to learn from its design!
E1M1: Slipgate Complex by John Romero
We experience the first moat and bridge after descending an elevator from an enclosed tech base art set. Due to the orientation of the button in the elevator, the player will be looking to the left of the bridge and will hear the enemies before seeing them.
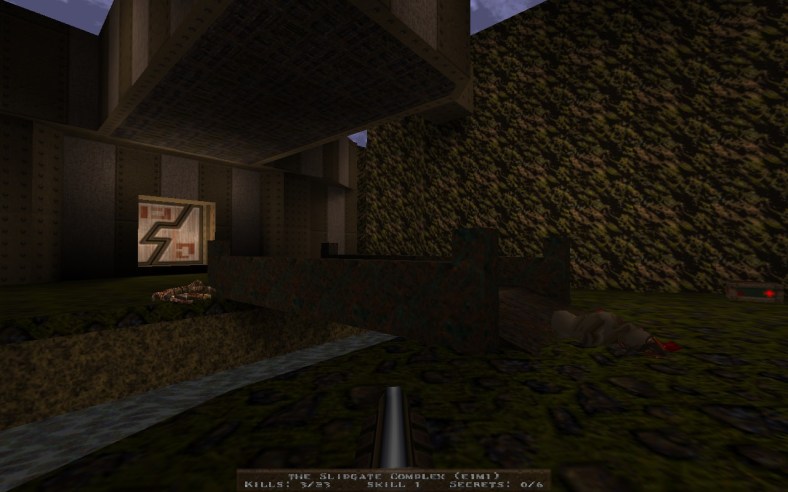
First glance of the moat and bridge in E1M1
Turning right to face the alerted enemies, the player sees the moat and bridge in the middle of a box canyon with organic green and brown tones in their textures. Across the moat the player sees another tech base and also sees the alerted enemies.
From gameplay, the moat functions as a funnel for navigation. We are able to see our enemies and predict their path to us. The moat in this box canyon environment lets the player cull extraneous information and focus ahead on the enemies.
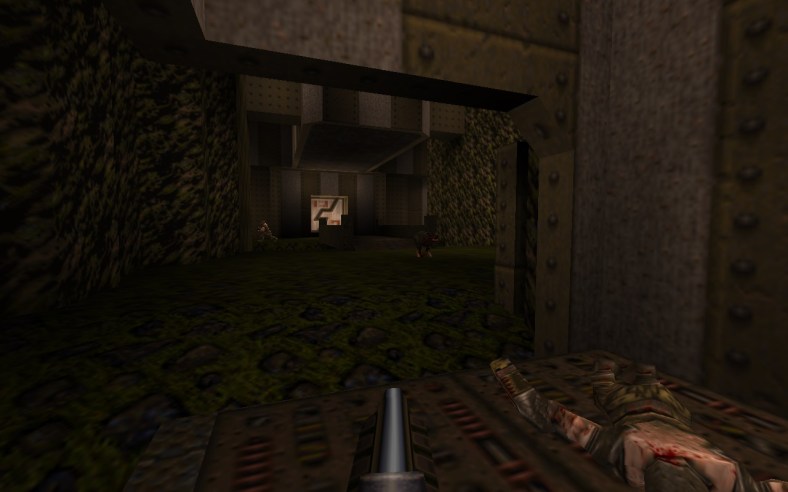
The moat and bridge up close
One of the enemies is a Rottweiler, which we hear bark into its alert state. Because the Rottweiler melees, it crosses the bridge immediately to enter attack range. The bridge has railings along the side which partially obscures the Rottweiler and prevents a direct attack. The other enemy is a grunt with a slow shotgun attack, which can hit the player across the moat. The player only has a shotgun at this point, which has a slow refire rate and is less effective at range. If the player chooses to shoot at the Grunt as the Rottweiler crosses, the player may not have time to respond to the Rottweiler before taking damage, and the Grunt will still be alive. As the second space of the first level, this moat and bridge introduce the player to target priority, which is a recurring theme of Quake’s combat design. The level reinforces this idea in the next room where the player faces several Grunts, a Rottweiler, and an explosive barrel.
This moat and bridge also introduce the player to their first secret area. If the player is still becoming familiar with the controls of a 3D First Person Shooter, there’s a good chance of falling into the moat, and the only way out is through a secret area with a reward. Players who are familiar with 3D first person controls should also notice the secret easily. Either way, discovering this secret tells the player about the way the levels are structured, and that there are rewards for exploration.
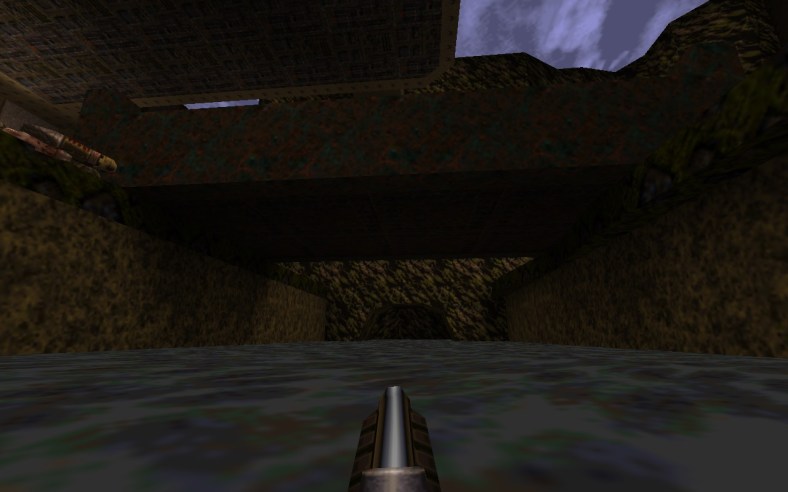
Walking in the moat in E1M1
Deeper into the second compound we see a second moat and several Grunts across from it. The water in this moat is a putrid green and will damage the player. There isn’t a bridge until the player presses a button, at which point it slides out and any living enemies will start crossing. This setup does not serve the same thematic function as the first moat and bridge, but mechanically it is part of a conversation the level is having with the player. Both moats serve a similar role to the pits players must jump at the end of Super Mario Bros 1-1. The first obstacle teaches the player in a safe environment. The second obstacle teaches the player with a risk. From then on, the levels use this established pattern as a building block for more complicated setups.
E1M2: Castle of the Damned by Tim Willits
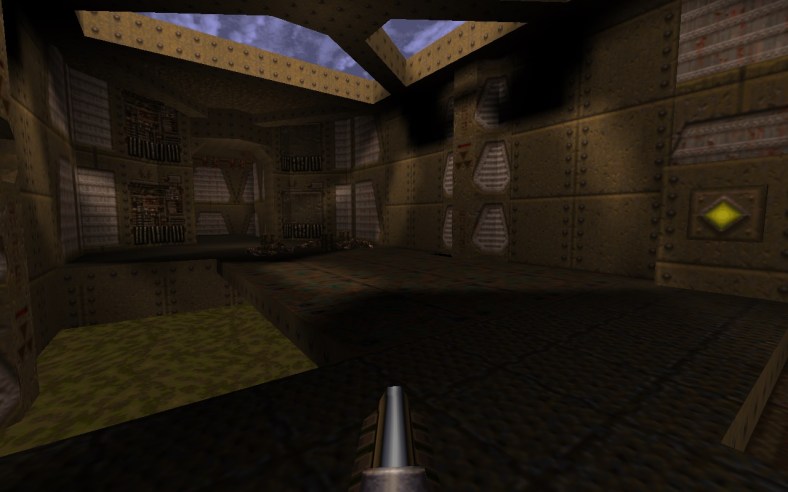
As soon as the player starts the level, they see they are in a room with a Grunt and an Ogre facing toward a large doorway. On the far side of the room is a moat of dirty water and a wooden bridge that the Ogre is crossing. As a way of introducing this new enemy, the level lets the player decide what to prioritize and when to start the fight. If the player waits, the Ogre will continue its patrol out the door, up some stairs, and around a corner out of sight.
The player also starts on a higher platform from the two enemies. If the player immediately enters combat, they will have the advantage. Specifically, the Ogre enemy fires a projectile grenade that bounces several times before exploding, or will explode on direct contact with the player. Because the Ogre is on the low ground, he may miss, hit the edge of a stair step, and cause the grenade to bounce back toward himself. This setup is the safest way to fight an Ogre.
Visually, the environment reads as an old castle or dungeon. If the player stops to study the architecture, it doesn’t make sense as a real castle. Since the player is in a room that is presumably inside the castle, it makes no sense to have a moat and bridge here. There is no apparent water source or drain. In short, this moat and bridge fails the “who built this?” “Why would they build it this way?” and “What happened here since it was built?” questions we expect most modern AAA games to answer.
However, for the experience of Quake, answering these questions does not matter. The level wears the skin of an old castle, much as sections of a themepark wear their facades, or as dreams recreate just enough familiarity for us to see them as real. If we transplanted the game mechanics of Thief, then a kind of architectural semi-realism would matter more because the player would need to recognize rooms by their function (bedroom, kitchen, parlor) and recognize the value of loot associated with those locations. Realism for these games only matters to the degree it serves the whole experience, and for Quake that means spooky, dream-like castles and dungeons, not real ones.
Returning to the moat and bridge, since this is only the second level there is still a good chance the player may fall in by accident as they learn the controls. The bridge itself has ramps into the water that allow the player to easily walk back up. Although the water is dirty instead of a clean blue, the player does not take damage. Unlike the first moat of E1M1, the water here is deep enough that the player must swim. There is only real danger if the player falls into the moat before killing the Ogre. The Ogre’s grenades sink, and the Ogre will block the exit from the water where the player must enter range of its chainsaw melee.
For players who discovered the secret in E1M1, E1M2 offers a subtle callback. As with the first moat and bridge, there is a secret to the right. With E1M2, players must shoot the wall to discover it, and there are no hints other than knowledge from the previous level.
Moving deeper into E1M2, there is a large room with several balconies, a large pool of dirty water beneath it, and a catwalk crossing to the far side. This space functions more as a combat encounter, or a room that players inhabit for a duration, rather than the threshold function of the moat and bridge. There are many other spaces in Quake with extended catwalks and hazards to either side, but they operate as a separate motif from the moat and bridge.
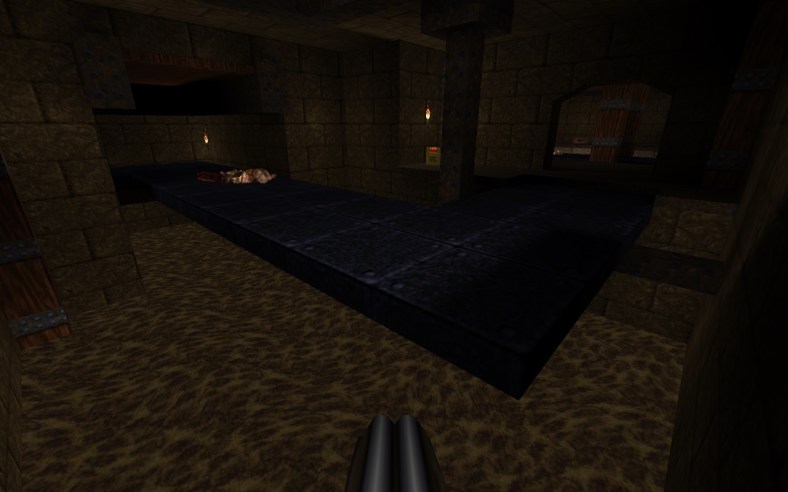
One of the catwalk and hazard setups in E1M2
E1M3: The Necropolis by Tim Willits
In the third level, after the first few areas of combat and an introduction to a new weapon and some new enemies, the level presents us with a really neat setup. This is one that blurs the boundary between my definitions of bridge and moat versus catwalks and hazards. Here we have a bridge extending to a tower, which has another bridge extending to a platform with a gold door. Below these bridges, instead of a moat we have a large room with water, and the player can see the gold key on a patch of dry land.
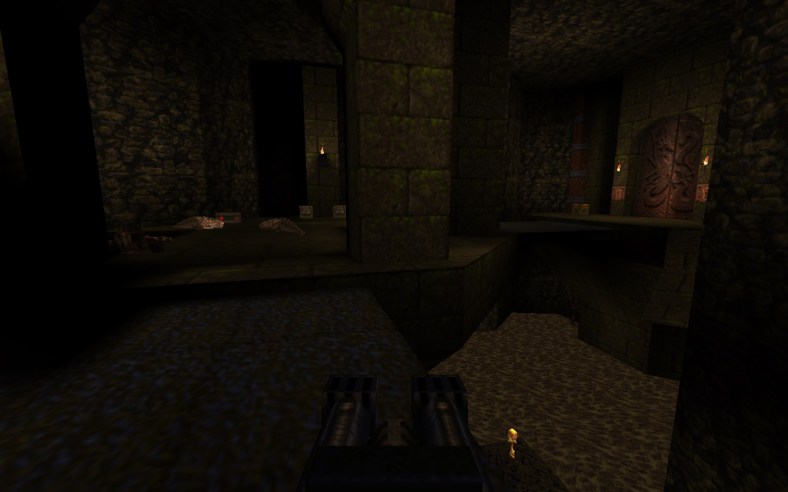
This setup informs the player about their goal (the locked door), and about one of the steps to achieve that goal (the gold key). From here, the player’s navigation through the level has context. Even if the player loses track of where to go, as they might if they jump into the pit for the gold key, the larger goal gives some direction. If, for example, the player jumped into the pit and found a staircase leading down and another staircase leading up, the player understands they must return up to complete the level, and can assume that the staircase down is toward a secret instead.
E1M4: The Grisly Grotto by Tim Willits
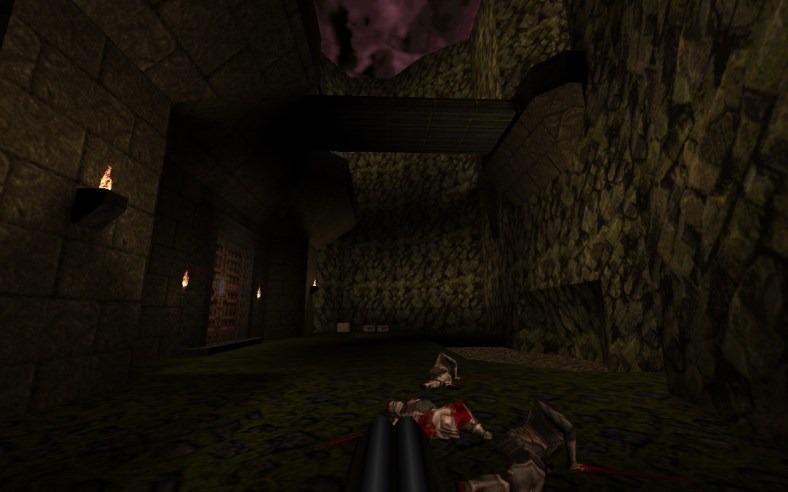
At the end of E1M4 we get a fun reversal of the moat and bridge motif. With the other occurrences up to this point, killing the bridge guards and crossing it are the first steps into enemy territory. With E1M4, the bridge is the last step of a map. The player leaves a castle-like structure to cross a bridge to an organic gap in the cliff side. This setup is as if the start and end of the level were reversed, or as if the player is finally exiting the back of the castle that they entered in E1M2.
E1M5: Gloom Keep by Tim Willits
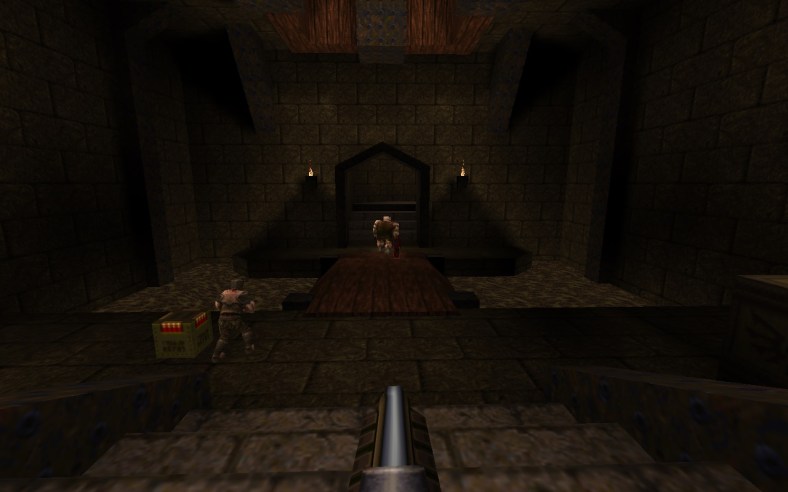
This is the most obvious moat and bridge setup of this episode. Immediately on entering the level, the player sees a huge fortress, a front door framed by two massive pillars, and the bridge itself.
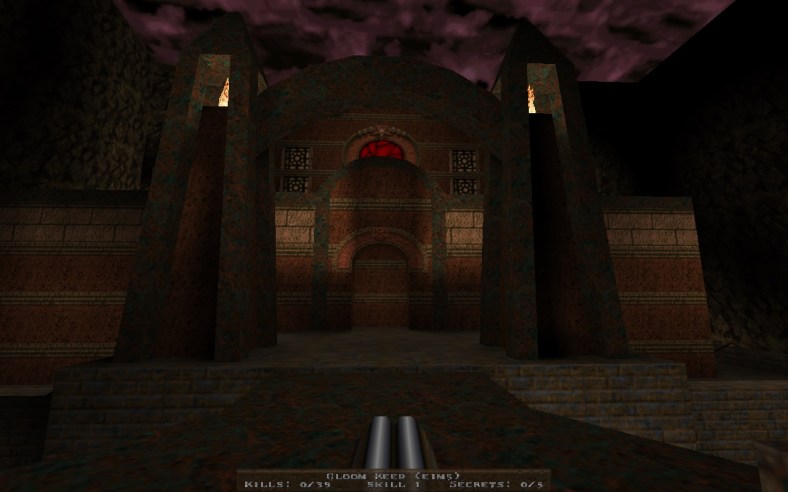
Where this use of the moat and bridge falters is that that the player starts on the bridge. The player does not get to decide if it is time to cross and do battle, as the player did in E1M1 and E1M2. This weakens the alignment between the player’s actions and the theme of storming the castle. This setup also reduces the possibility to anticipate the fight ahead
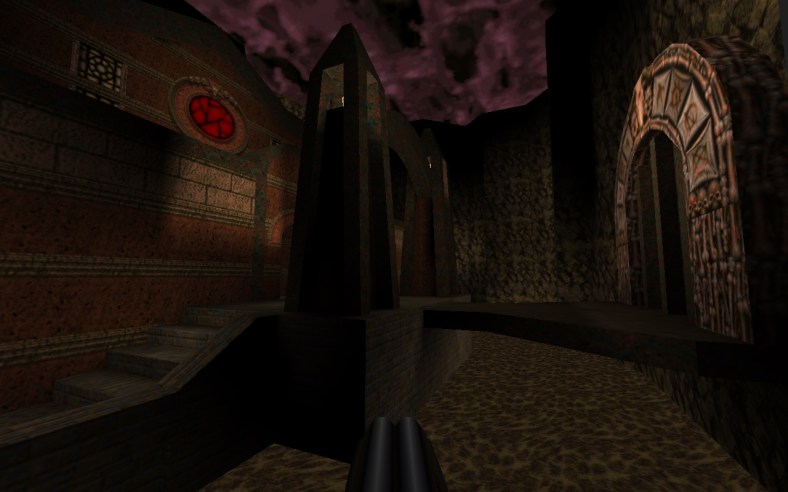
Aside from this, the setup is familiar. If players fall of the bridge, the water is safe and will lead around to a side entrance in the castle. If the player swims underwater to the right of the bridge, they will find a secret cave with a health item as a reward.
E1M5 also is the last level in the episode with a moat and bridge…
E1M6: The Door to Cthon by American McGee
But I can’t talk about Quake episode 1 without talking about E1M6! This is my favorite level in the game. Like McGee’s E4M1 in Ultimate Doom, this is a combat puzzle box where the player teases at various pieces to see what unlocks and what new traps will spring.
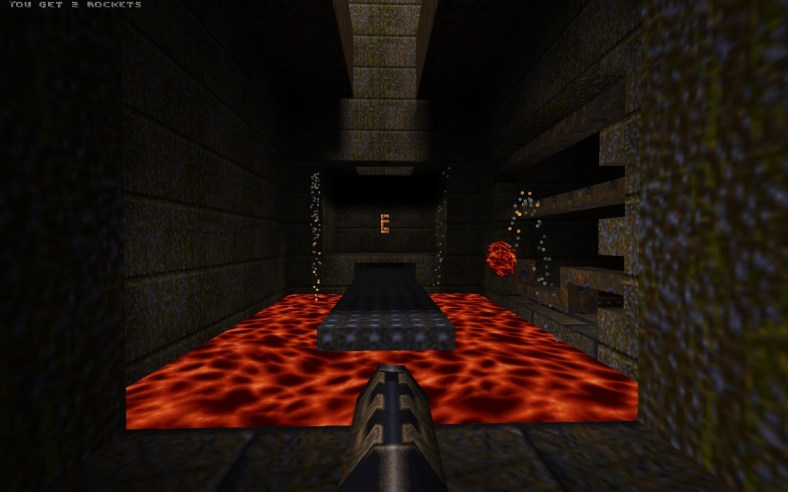
Definitely not a moat and bridge?
E1M6 doesn’t have the moat and bridge motif, though, unless we count this diving board platform to reach the gold key? No? I guess I’ll have to save discussion of that one for another time.
Thanks for joining me on this look at one facet of the design in Quake’s first episode.
Cheers,
Andrew
Correction: previous version incorrectly credited E1M5 to John Romero, instead of Tim Willits. Fixed 11/24/2017 9:55pm
